
Your First Project
This guide walks you through creating a minimal ArchTect workspace from scratch.
1. Create a DSL file
Section titled “1. Create a DSL file”Create a file called workspace.dsl and paste the following:
workspace "My First Architecture" "A simple system context example" {  model {    user = person "User" "A user of the system"    system = softwareSystem "My System" "The system being modeled"    user -> system "Uses"  }
  views {    systemContext system "SystemContext" {      include *      autoLayout    }  }}
This defines:
- A person called “User”
- A software system called “My System”
- A relationship between them (“Uses”)
- A system context view that includes all elements
2. Open in ArchTect
Section titled “2. Open in ArchTect”VS Code extension:
- Open the folder containing
workspace.dslin VS Code. - Open the
.dslfile — the ArchTect icon appears in the editor title bar (top right). - Click the icon to open the visual canvas editor.
You can also right-click the file in the Explorer and choose ArchTect: Open with ArchTect.
Browser app:
- Open the ArchTect web app.
- Open or upload your
workspace.dslfile.
3. Explore the diagram
Section titled “3. Explore the diagram”Once the file is loaded, open the left rail’s Views panel and click SystemContext to open the view you defined:
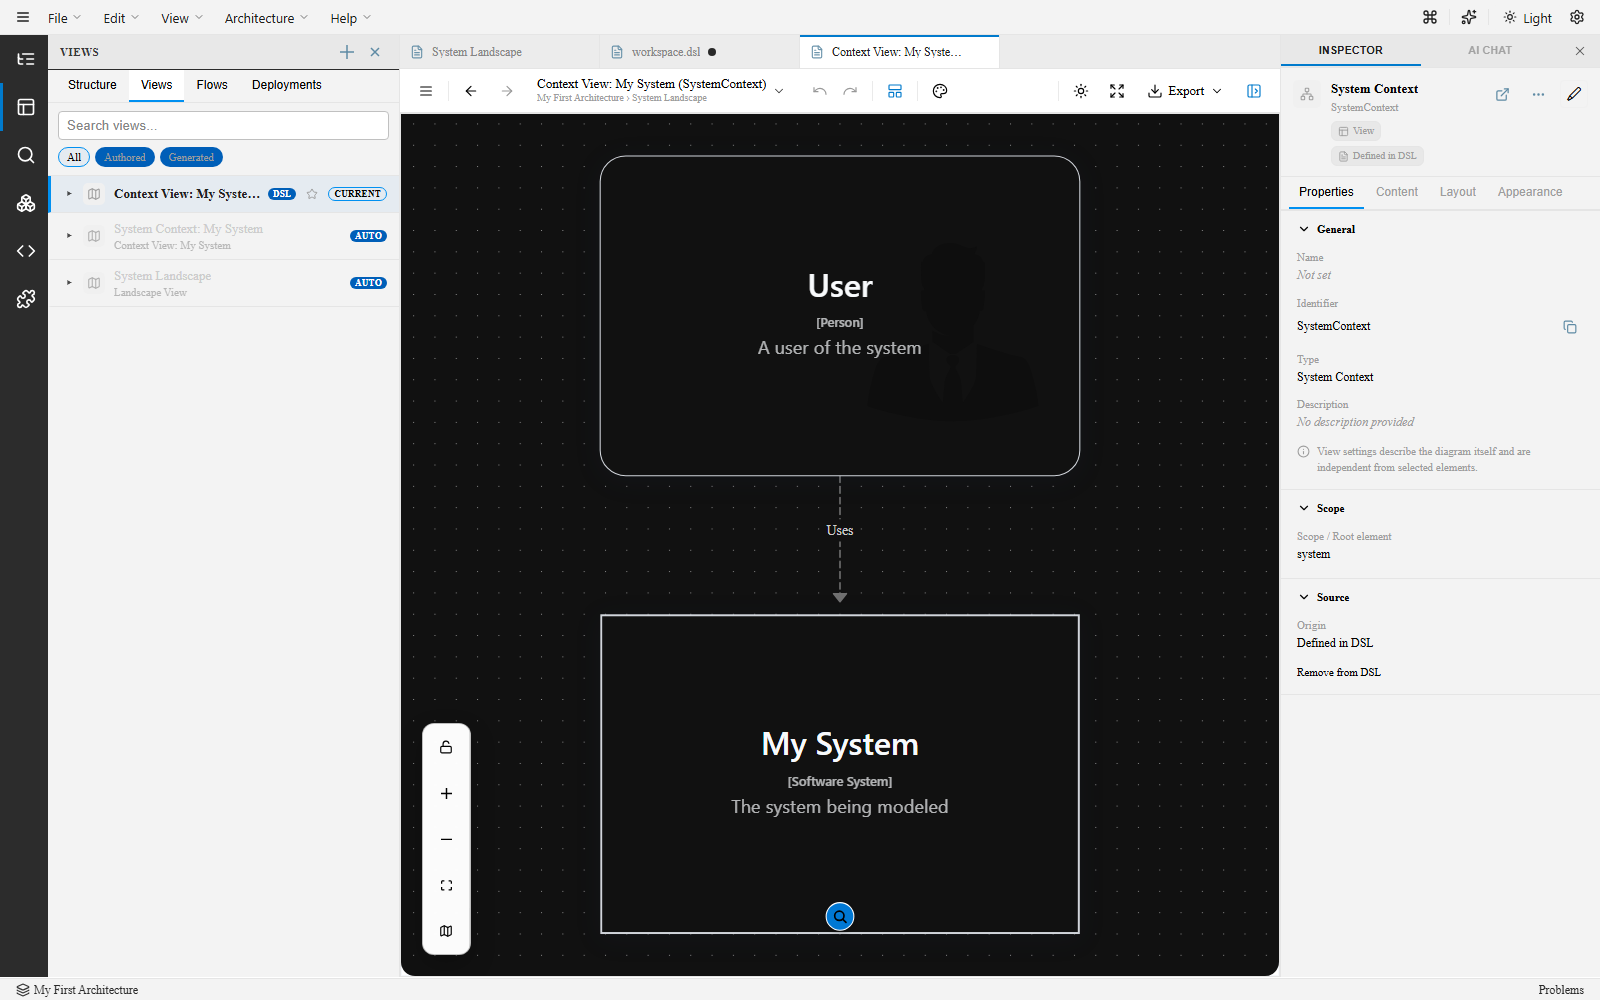
- The canvas shows your system context diagram with the User and My System elements.
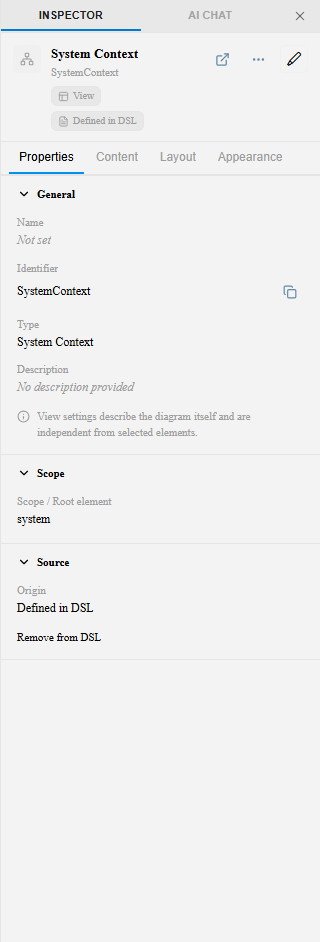
- Click on an element to see its properties in the Inspector.
- The Views panel lists both your authored view and views ArchTect auto-generates (tagged
AUTO) alongside it.
4. Add an element visually
Section titled “4. Add an element visually”Try adding a new element using drag-and-drop:
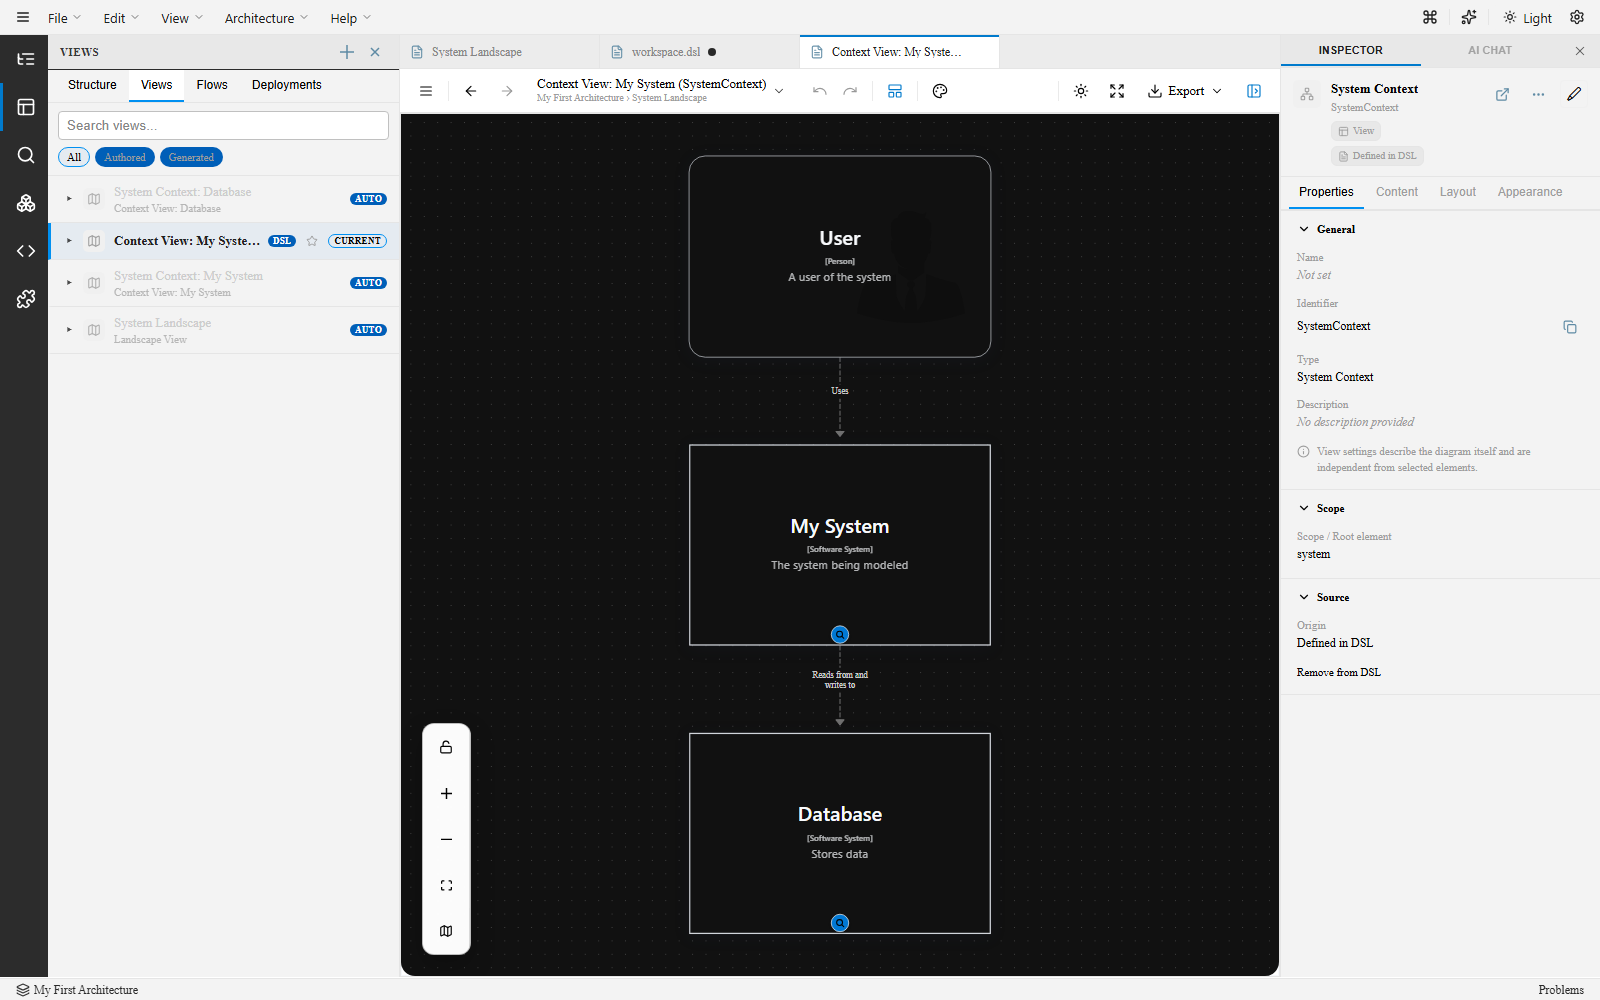
- Use the element palette or toolbar to add a new Software System to the canvas.
- Drag it into position.
- Create a relationship by dragging from one element to another.
- Edit the name and description in the Inspector.
The DSL updates automatically to reflect your visual changes — this is the bidirectional sync in action.
5. Your changes are saved
Section titled “5. Your changes are saved”Changes you make on the canvas or in the DSL editor are synced to the underlying .dsl file automatically. In VS Code, the file tab may show as modified — use Ctrl+S / Cmd+S to flush it to disk.
Next steps
Section titled “Next steps”- UI Tour — Learn the main areas of the interface.
- DSL Basics — Learn more DSL syntax: containers, components, groups, and tags.
- Views — Understand the different view types and when to use them.
- Export — Export your diagrams as PNG, SVG, or other formats.